

Why WordPress with WooCommerce
WordPress is one of the most popular web content management platforms globally, celebrated for its scalability, versatility, and user-friendly design. Add in WooCommerce, an open-source e-commerce plugin built specifically for WordPress, and you have yourself an unbeatable combination for creating a powerful WordPress eCommerce website.
WooCommerce seamlessly integrates with your WordPress site, transforming it into a full-fledged online store. It provides an extensive suite of e-commerce features, giving you the power to sell anything, anywhere – from physical goods to digital downloads, subscriptions, and even appointments.
What makes WooCommerce stand out is its flexibility and customization capabilities. It offers hundreds of free and premium themes and extensions. E-commerce proprietors can modify every part of their store to fit their business needs and branding requirements.
So by choosing WordPress with WooCommerce, you’re investing in a reliable, customizable, and powerful platform trusted by millions of online sellers worldwide (over 4 million sellers, in fact).
Let’s look at the steps needed to get your WordPress e-commerce site running.
Step 1: Choose a Domain and Hosting
- Purchase a domain name and choose a hosting plan from Rudo Hosting.
- Set up your hosting account and connect your domain.
Step 2: Install WordPress
- Log in to your Rudo hosting account.
- Access the cPanel or control panel provided by Rudo hosting.
- Look for the “Softaculous” or “WordPress Installer” option.
- Follow the on-screen instructions to install WordPress.
Step 3: Configure WordPress Settings
- Log in to your WordPress admin dashboard.
- Navigate to “Settings” and update your site title, tagline, and other general settings.
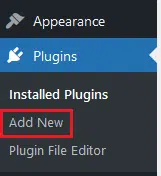
Step 4: Install WooCommerce
- In your WordPress dashboard, go to “Plugins” > “Add New.”
- Search for “WooCommerce” and click “Install Now.”
- After installation, click “Activate.”
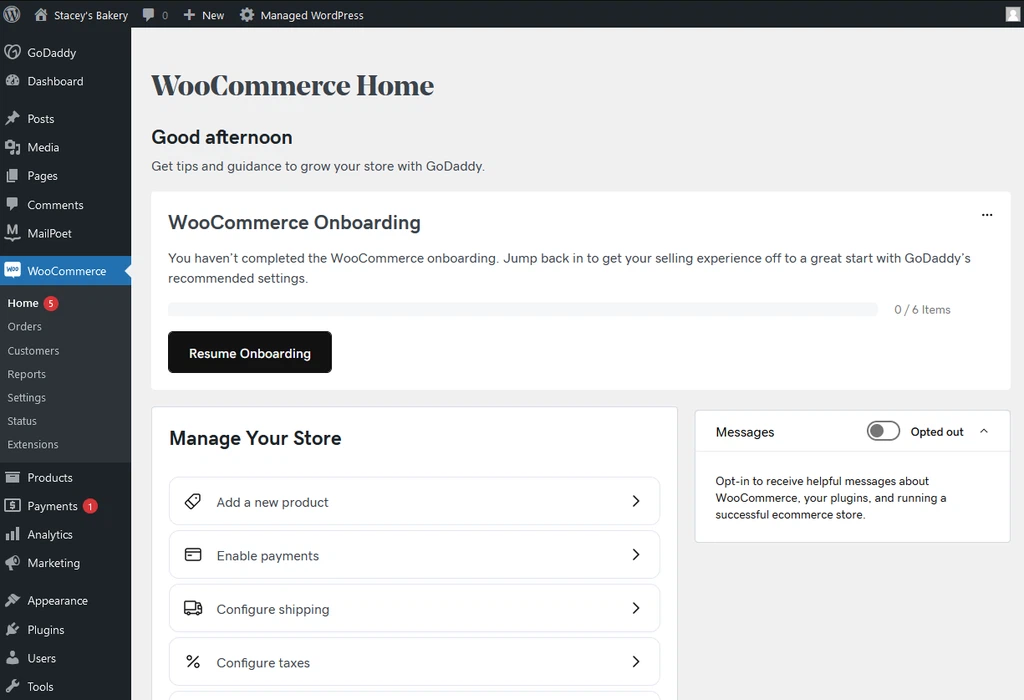
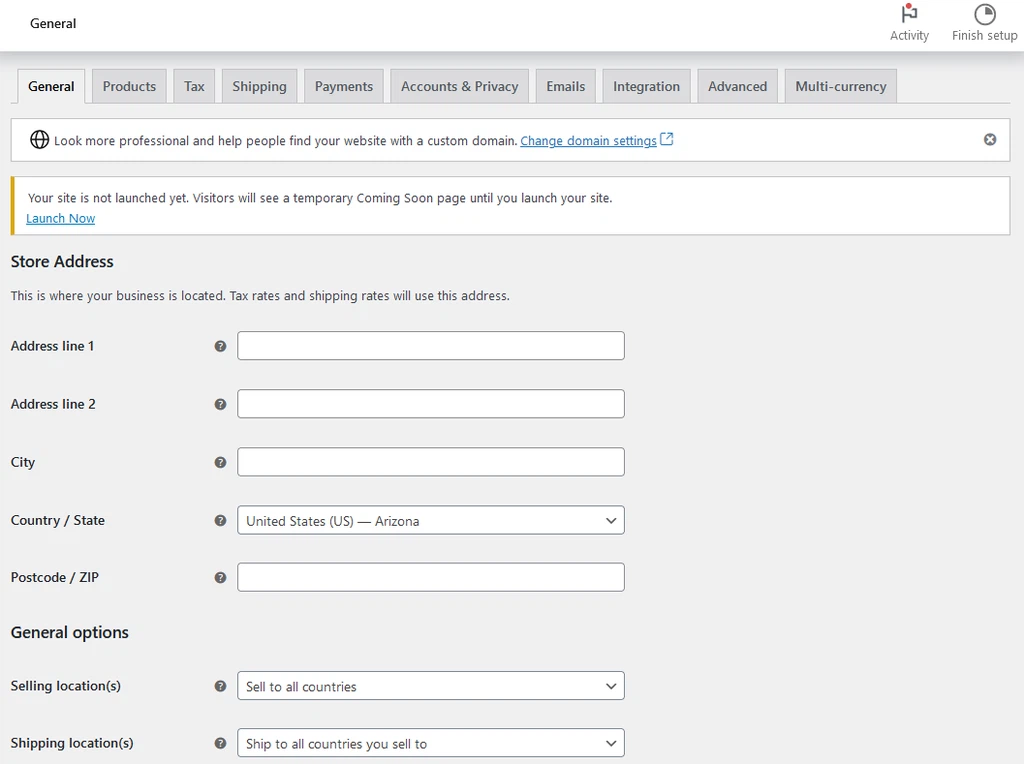
Step 5: Set Up WooCommerce
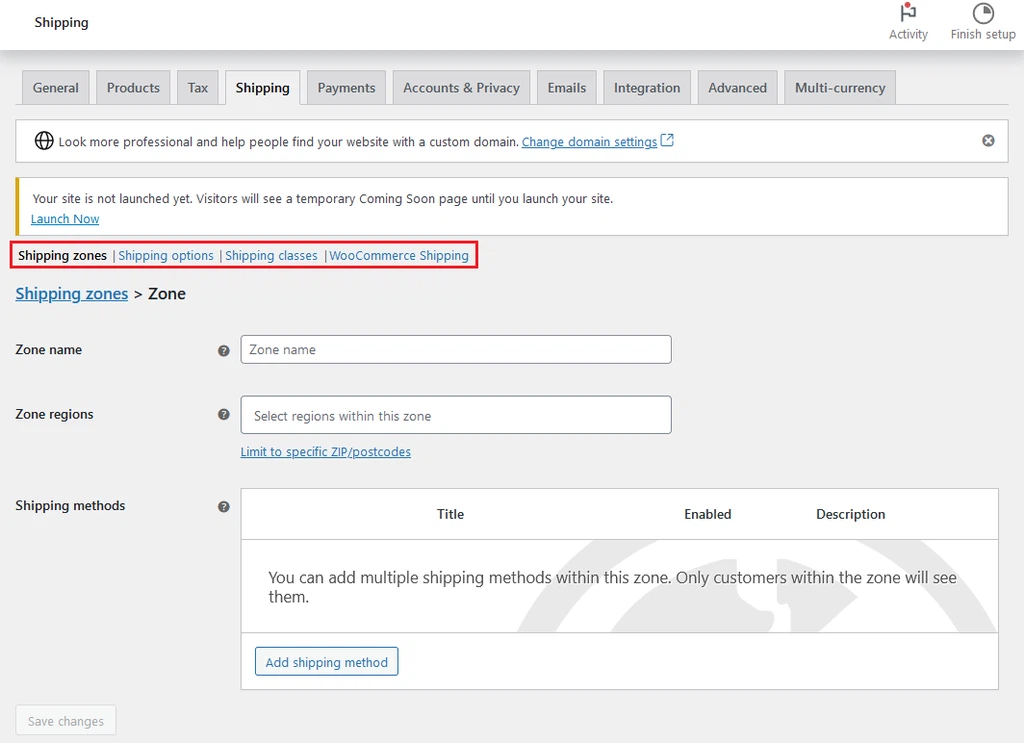
- Upon activation, WooCommerce will launch a setup wizard. Follow the steps to configure your store, including currency, payment options, shipping, and taxes.
- Set up your PayPal or other payment gateways.
Step 6: Choose a WooCommerce Compatible Theme
- Go to “Appearance” > “Themes” in your WordPress dashboard.
- Click “Add New” and search for a WooCommerce-compatible theme.
- Install and activate the chosen theme.
Step 7: Customize Your Website
- Customize your site by going to “Appearance” > “Customize.”
- Modify colors, fonts, and layout according to your brand.
- Upload your logo and set other branding elements.
Step 8: Add Products
- Go to “Products” > “Add New” to add your products.
- Fill in product details, including title, description, price, and images.
Step 9: Set Up Additional Pages
- Create essential pages such as “Home,” “Shop,” “About Us,” and “Contact.”
- Set permalinks for better SEO under “Settings” > “Permalinks.”
Step 10: Install Essential Plugins
- Install plugins for SEO (e.g., Yoast SEO), security (e.g., Wordfence Security), and caching (e.g., W3 Total Cache).
- Add any additional plugins based on your needs.
Step 11: Test Your Website
- Ensure your website works correctly by testing the shopping cart, checkout, and payment process.
- Verify that your SSL certificate is active for secure transactions.
Step 12: Regular Backups and Updates
- Set up regular backups through your hosting provider.
- Keep your WordPress, WooCommerce, and plugin installations up to date.
Step 13: Optimize for Performance
- Use a caching plugin to improve site speed.
- Optimize images to reduce page load times.
Remember to refer to Rudo hosting’s documentation or support for any hosting-specific configurations or optimizations.